
How to screen record on iPhone involves enabling the Screen Recording feature in Control Center, starting and stopping recordings with a tap, optionally recording audio via the microphone, editing videos in the Photos app, sharing recordings easily, and troubleshooting common issues like missing controls or storage limits.
If you’ve ever wondered how to screen record on your iPhone without installing any apps, you’re not alone. How to screen record on iPhone has become a common question for those wanting to capture tutorials, gameplays, or important video calls with ease.
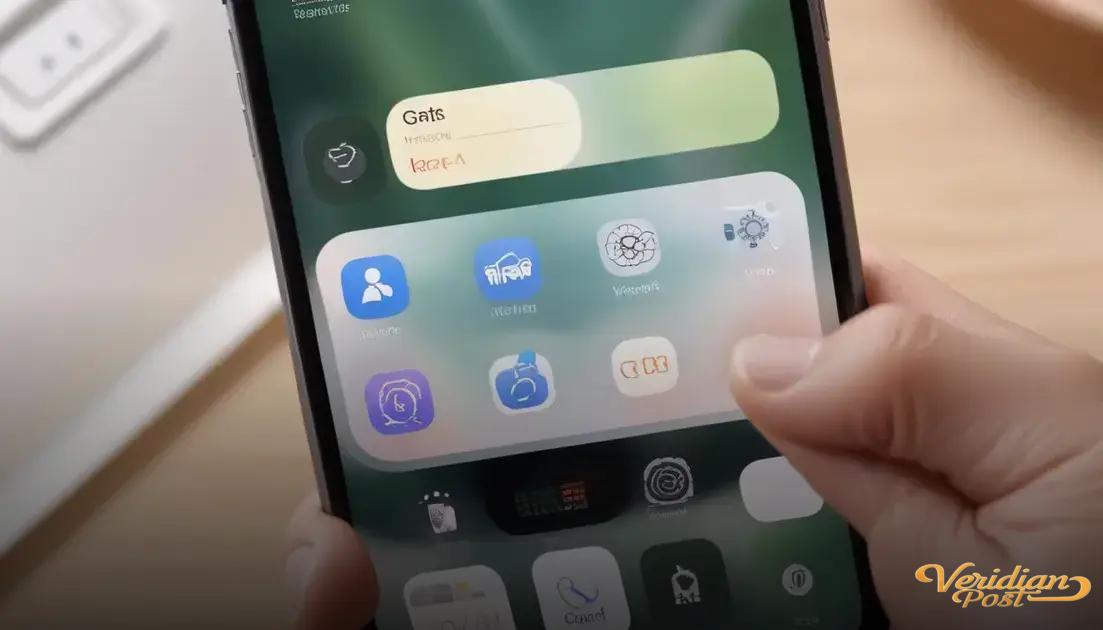
how to enable screen recording in control center
To start screen recording on your iPhone, you first need to enable the feature in the Control Center. Open the Settings app, then navigate to Control Center and tap Customize Controls. Here, find Screen Recording and tap the green plus icon to add it to your Control Center.
Once added, you can easily access screen recording by swiping down from the top-right corner of the screen (for iPhones with Face ID) or swiping up from the bottom (for iPhones with a Home button). You should see the screen recording button, a circle inside a circle icon.
Customize Your Control Center
Adding Screen Recording to the Control Center means you can start recording anytime without opening extra apps. You can also rearrange the order of controls in the Control Center for quick access to your favorite tools.
Remember, if you don’t see the option to add screen recording, make sure your iOS is up to date. This feature is available on iOS 11 and later.
Enabling this feature is the first and essential step to easily capture everything that happens on your screen with just a few taps.
steps to start and stop screen recording
To start screen recording on your iPhone, swipe down from the top-right corner (or swipe up from the bottom on older models) to open the Control Center. Then, tap the screen recording button, which looks like a solid circle inside a thin circle. A three-second countdown will begin, and then your screen recording starts automatically.
Stopping a Screen Recording
To stop recording, tap the red status bar or red clock at the top of your screen and select Stop. Alternatively, you can open the Control Center again and tap the screen recording button to end the recording. The video will be saved automatically to your Photos app.
During recording, you can also tap and hold the screen recording button in Control Center to access options like enabling or disabling the microphone. This way, you can decide whether to record just the screen or include your voice and other sounds.
Note: Make sure you have enough storage space on your device as long recordings can take up significant space.
tips for recording with sound and microphone
When recording your iPhone screen, capturing sound can enhance your video and make it more engaging. To record with sound, open the Control Center and press and hold the screen recording button until the microphone option appears. Tap the microphone icon to turn it on or off before you start recording.
Using Microphone During Screen Recording
Enabling the microphone allows you to include your voice or ambient sound. This feature is great for tutorials, commentaries, and walkthroughs. Make sure to speak clearly and minimize background noise for better audio quality.
Adjust volume settings before you start recording. If the microphone audio is too low or too loud, try adjusting the volume or moving closer to the iPhone’s microphone.
Remember, the internal audio from apps or games will record automatically, but you must enable the mic to capture external sounds. Review your recording afterward to ensure the sound quality meets your needs.
how to edit and share your screen recordings
After recording your iPhone screen, you can easily edit and share your video directly from the Photos app. Open the Photos app and find your screen recording in the Recents or Videos album. Tap the video to open it.
Editing Your Screen Recording
Tap Edit in the top-right corner to trim, crop, or adjust your recording. You can use the sliders at the bottom to trim the beginning or end of the video. This is useful for removing unwanted parts or long pauses.
You can also use the editing tools to adjust brightness, contrast, or apply filters to enhance the video’s look. While these options are basic, they help improve the quality without needing extra apps.
Sharing Your Screen Recording
Once you finish editing, tap Done to save your changes. To share, tap the Share icon and choose from options like Messages, Mail, AirDrop, or upload directly to social media and cloud storage.
Tip: If your video is large, consider compressing it before sharing to avoid long upload times or sending issues.
These built-in tools make it simple to polish and distribute your screen recordings quickly and efficiently.
troubleshooting common screen recording issues
Sometimes, you may face issues while screen recording on your iPhone. One common problem is the screen recording button missing from the Control Center. To fix this, go to Settings > Control Center > Customize Controls and make sure Screen Recording is added.
Fixing Screen Recording Not Starting
If tapping the record button doesn’t start recording, try restarting your iPhone. Also, check if Do Not Disturb or Screen Time restrictions are enabled, as they can block screen recording features.
Another issue could be insufficient storage space which prevents new recordings. Check your available storage in Settings and free up space if needed.
Sound Not Recording
If you’re not hearing sound in your recordings, ensure the microphone is enabled by long-pressing the screen recording button in Control Center and turning on the mic.
Update your iOS regularly to avoid bugs and glitches that may affect screen recording. If problems persist, resetting your settings or contacting Apple Support can help resolve deep system issues.
Summary of easy screen recording on iPhone
Screen recording on your iPhone is simple once you know how to enable and use it from the Control Center. You can start and stop recordings with just a tap, including sound through the microphone if needed.
Editing and sharing your recordings is also quick and easy using the built-in Photos app. If you encounter issues, checking your settings and storage usually solves the problem.
With these tips, you can capture and share anything on your screen without extra apps or hassle.
FAQ – Common Questions About Screen Recording on iPhone
How do I add screen recording to the Control Center?
Go to Settings > Control Center > Customize Controls, then tap the green plus button next to Screen Recording to add it.
Can I record sound while screen recording on my iPhone?
Yes, press and hold the screen recording button in Control Center and tap the microphone icon to enable or disable sound recording.
Where do screen recordings get saved?
All screen recordings are automatically saved to the Photos app under Recents or Videos.
How do I trim or edit my screen recordings?
Open the recording in the Photos app, tap Edit, then use the sliders to trim the beginning or end, or apply filters and adjustments.
What should I do if screen recording isn’t working?
Check if Screen Recording is added to Control Center, restart your iPhone, ensure Do Not Disturb or Screen Time restrictions aren’t blocking it, and confirm there is enough storage space.
Can I share screen recordings directly from my iPhone?
Yes, you can share recordings via Messages, Mail, AirDrop, or upload them to social media or cloud services right from the Photos app.