
How to screen record on iPhone: add Screen Recording to Control Center, tap the icon to start, enable microphone if needed, stop recording from the red status bar, and access your videos in the Photos app for editing and sharing.
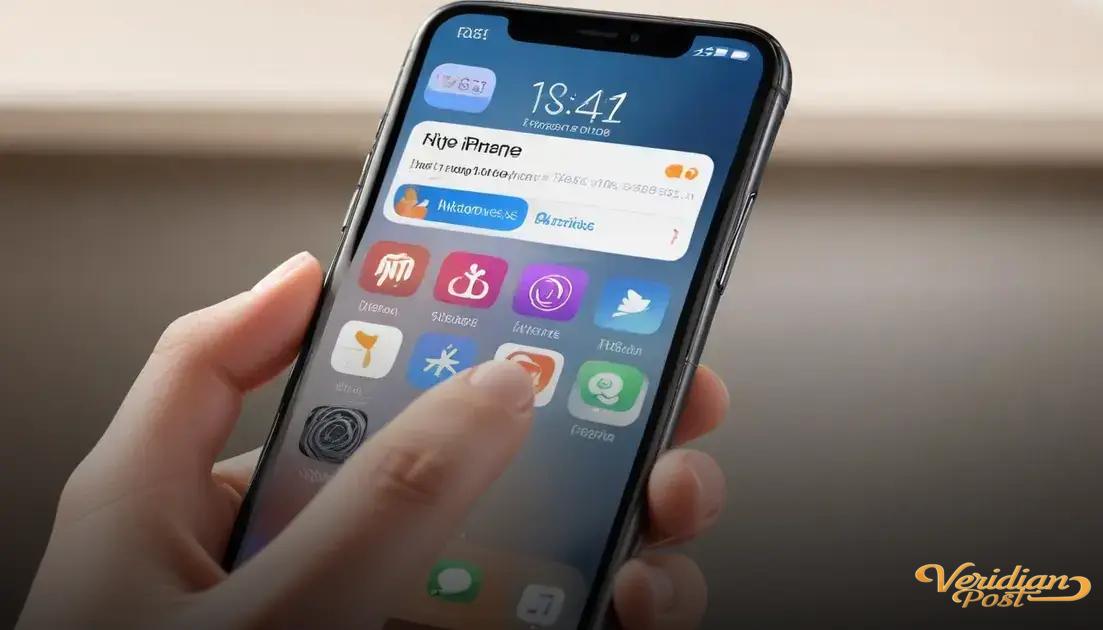
Ever wondered how to easily capture what’s happening on your phone? Learning how to screen record on iPhone opens up a world of possibilities, from sharing gameplay to saving important tutorials. Let’s explore quick and straightforward ways to get started.
understanding iphone screen recording basics
Screen recording on an iPhone allows you to capture exactly what happens on your device’s screen, including audio and video. This feature is built into iOS, so you don’t need any extra apps to start recording. It’s helpful for creating tutorials, sharing gameplay, or saving video calls. To use it, you first need to add the Screen Recording button to your Control Center through your iPhone settings.
What Screen Recording Captures
When you start a screen recording, everything visible on your screen is recorded. This includes notifications, app navigation, and any audio playing on or through your device. You can also record your voice by enabling the microphone audio before starting the recording.
Supported Devices and iOS Versions
Screen Recording is available on iPhones running iOS 11 or later. Most iPhones from the iPhone 6s and newer support this feature. Ensuring your device’s software is up to date helps maintain compatibility and access to new screen recording functions.
Key benefits of understanding these basics include smoother recordings, better content creation, and full control over what you capture and share.
step-by-step guide to start screen recording
To start screen recording on your iPhone, first ensure the feature is added to your Control Center by going to Settings > Control Center > Customize Controls, then tap the green plus button next to Screen Recording.
Starting a Screen Recording
Swipe down from the top-right corner of your screen (or swipe up from the bottom on older iPhones) to open Control Center. Look for the Screen Recording icon, which looks like a solid circle inside a circle. Tap it once to begin recording. You’ll see a red status bar or red clock at the top indicating the recording is in progress.
Enabling Microphone Audio
If you want to capture your voice or other external sounds, press and hold the Screen Recording icon in Control Center before tapping the Start Recording button. Tap the microphone icon to turn it on, then start your recording as usual.
Stopping the Recording
To stop, tap the red status bar or red clock at the top of your screen and confirm to end recording, or open Control Center again and tap the Screen Recording icon. Your recording automatically saves to the Photos app for easy access and editing.
Tips: Make sure to clear any unnecessary notifications or private info before recording, and check your storage space to avoid interruptions.
how to access and manage your recordings
After you finish a screen recording on your iPhone, it is automatically saved to the Photos app. Open Photos to find your recordings organized just like your other videos and pictures. You can play, edit, or share them directly from the app.
Accessing Your Recordings
To find your screen recordings quickly, open Photos and go to the Albums tab. Look for the “Screen Recordings” album, where your videos are grouped together for easy access. This helps keep your recordings organized and easy to locate.
Managing Your Recordings
You can edit your recordings by trimming unwanted parts or adjusting the length. Just tap the recording, select Edit, and use the sliders to cut the video as needed. You can also share your video via Messages, Email, or social media directly from Photos.
Organizing your videos effectively frees up space and helps keep your content tidy. Consider deleting old or unnecessary recordings to save storage. You can also transfer recordings to your computer or cloud storage for backup.
tips to enhance your screen recording experience
To get the best results from your screen recordings on iPhone, consider a few helpful tips. First, turn on Do Not Disturb mode to avoid interruptions from calls or notifications while recording. This keeps your video clean and focused.
Use Landscape Mode
For wider videos, rotate your iPhone to landscape orientation before you start recording. This is especially useful for capturing gameplay or watching videos where a wider view looks better.
Plan Your Recording
Before hitting record, plan what you’ll capture. Close apps and disable unnecessary background activities to reduce distractions. This can also help improve the performance of your device during recording.
Edit with Built-in Tools
After recording, use the built-in editing tools in the Photos app to trim, adjust brightness, or add filters. This enhances the quality of your video without using extra apps.
Remember to keep your iPhone charged or connected to power when recording long videos to avoid interruptions due to low battery.
troubleshooting common screen recording issues
Sometimes screen recording on your iPhone may not work as expected. One common issue is the screen recording button being grayed out or unresponsive. This often happens because of restrictions set in Screen Time settings. To fix this, go to Settings > Screen Time > Content & Privacy Restrictions > Allowed Apps and ensure Screen Recording is enabled.
Recording Stops Unexpectedly
If your recording stops suddenly, it could be due to low storage space. Check your available storage under Settings > General > iPhone Storage, and free up space by deleting unneeded files or apps.
Audio Not Recording
Another issue is audio missing from your recordings. Make sure the microphone audio is turned on by pressing and holding the Screen Recording icon in Control Center and tapping the microphone button to enable it.
Performance problems like lag or stuttering can be resolved by closing background apps and restarting your iPhone before recording.
Mastering Screen Recording on Your iPhone
Screen recording on your iPhone is a handy tool that anyone can use with ease. By following simple steps and knowing how to manage your recordings, you can create clear and useful videos for any purpose.
Remember to use the tips shared here to improve your recording experience and troubleshoot common issues quickly. With a little practice, capturing your screen with audio and sharing it becomes second nature.
Whether for work, gaming, or learning, learning how to screen record on iPhone opens new ways to communicate and save important moments.
FAQ – Common Questions About Screen Recording on iPhone
How do I add the screen recording button to my iPhone Control Center?
Go to Settings > Control Center > Customize Controls, then tap the green plus button next to Screen Recording to add it.
Can I record my voice along with the screen recording?
Yes, press and hold the Screen Recording icon in Control Center, then tap the microphone icon to turn on audio recording before starting.
Where do my screen recordings get saved?
All screen recordings are automatically saved to the Photos app, usually in a separate Screen Recordings album.
Why is my screen recording button grayed out and how can I fix it?
It may be disabled by restrictions in Screen Time settings. Check under Settings > Screen Time > Content & Privacy Restrictions > Allowed Apps to enable Screen Recording.
How can I edit my screen recordings?
Open the recording in the Photos app, tap Edit, and use the trimming sliders or adjustment tools to improve your video.
What should I do if my screen recording stops unexpectedly?
Check your available storage space and close background apps to avoid interruptions. Restarting the iPhone can also help improve performance.